How to Create a Multi Page Form in WordPress: A Beginner’s Guide
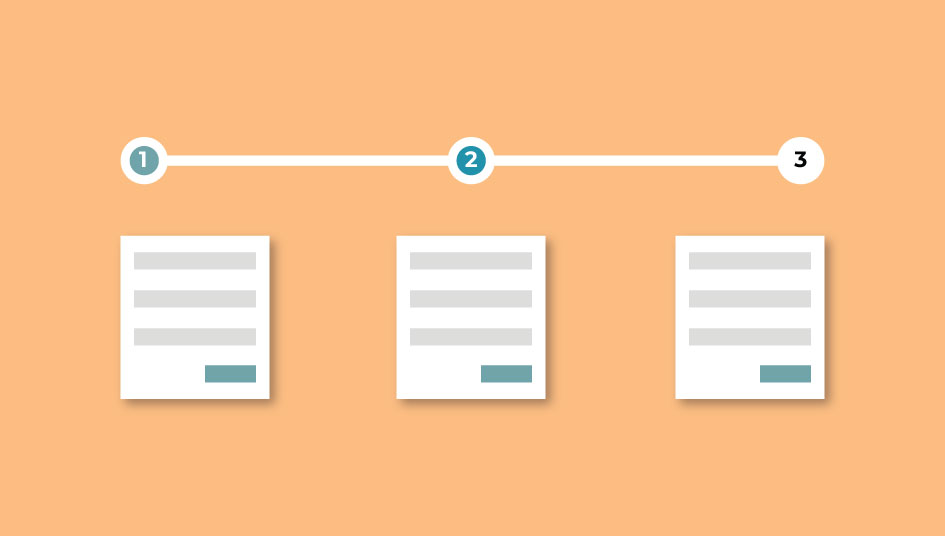
Forms can be an effective tool when it comes to quickly gathering information. You can simply insert them somewhere on your site and your visitors will be able to fill it up at their own pace. When used effectively, they can even prove to be effective ways to engage your visitors. However, they can also backfire and serve to distract and frustrate your visitors. One common cause of that is when your forms appear to be just too long. Fortunately, there is an easy solution to that for WordPress site owners. You can instead use a multi page form to divide your form into smaller, easily digestible chunks. As a result, your visitors will not be overwhelmed by a long form.
In this article, we are going to show you how to create a WordPress multi page form with ease. To do that, we are going to be using the effective Everest Forms plugin with its Multi Part Forms add-on.
How to Create a WordPress Multi Page Form?
1. Installing and Activating Everest Forms along with the Multi Part Forms Add-on

The first thing you need to do is install the free version of Everest Forms for your site. If you have any confusions about how that is done, feel free to consult our guide on installing WordPress plugins. After you’ve done that, you will need to do the same for the premium person of Everest Forms. To purchase it, you can simply go here.

Now that you have both versions of Everest Form installed and activated, it’s a pretty simple step to enable the Multi Part Forms Add-on. From your sidebar, go to Everest Forms>>Add-ons and look for Multi Part Forms. Now all you need to do is click on the Install Addon button and you’re good to go.
2. Creating a WordPress Multi Page Form
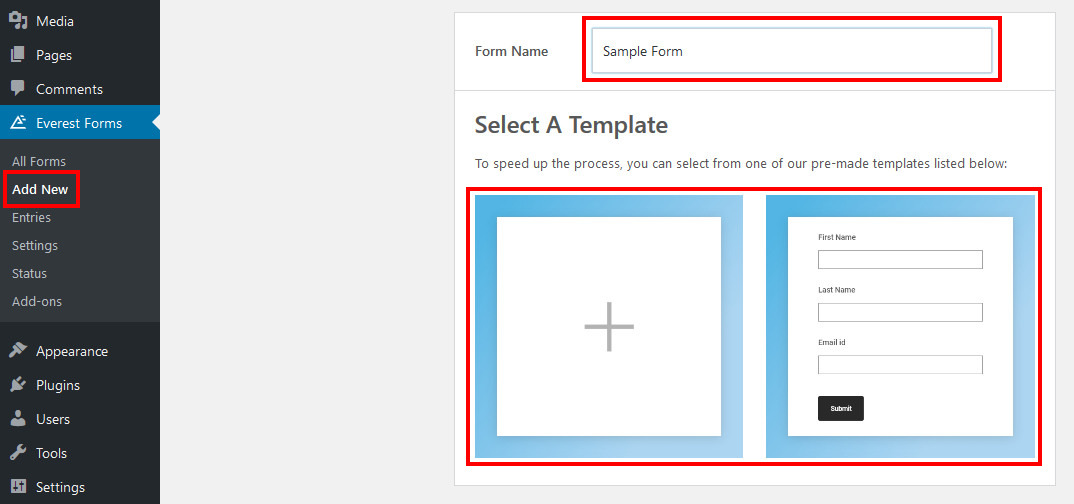
Now that you have Everest Forms Multi Part Forms set up, you can go on and create one. From your Dashboard, use your sidebar to go to Everest Forms>>Add New. Here, you can enter a name for your form and pick the template.
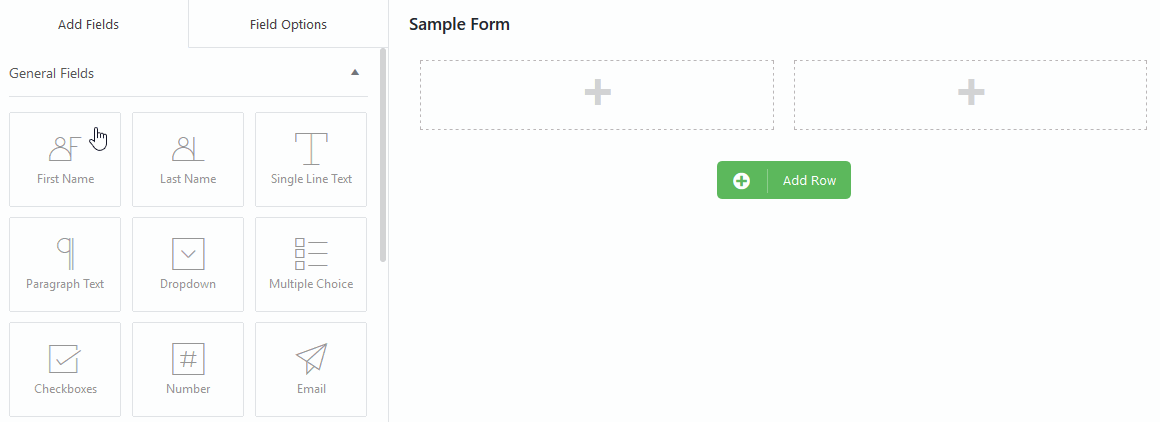
This will take you to the form builder page. From here, you can use the intuitive drag and drop interface to build your form. Just drag one of the fields from the left where you want. You can also change the way the rows look using the row settings. Simply click on the icon on the top right corner of a row and pick between the two layouts.

This plugin also allows you to change the options of each field individually. Just click on a field to select it and Add Fields on the right will switch to the Field Options. From here, you can change a variety of options, including the label, description, whether it is required or not, placeholder text, and even CSS Classes. With the Field Options, you will be able to customize the way the fields of your form function.

It is really easy to add new pages to your form. All you need to do is click on the Add New Part button on the bottom right.

Once you add a new part, it will appear as a new tab at the bottom. Just click on it and it will switch you to that part. From here, you can either change the Page Options or go to Add Fields and continue building your form. Using the Page Options, you can choose the name of the part as well as the labels for the Next and Previous buttons on the front-end.

To change the way the multi-step forms work, you will need to alter its settings. Go to the Settings tab at the top and then click on Multi-Part to bring up the options for multi-part forms. Just check or uncheck the box next to Enable Multi-Part form if you want to enable or disable it. Below that, you can use the drop-down menu to change the way the visitors’ progress through the form is indicated. You can also use the color picker to set the color for the Progress Indicator. Finally, you can choose the alignment for part navigation buttons.
And that’s all there is to it. Once you’re done creating a form you can simply click on the Save button on the top-right. To add your form to a past enter the Shortcode beside it into a post or a page.

Wrapping it Up:
So that was our short tutorial on creating a WordPress multi page form using the Everest Forms Plugin. Using this, you will be able to extend your forms without the risk of losing viewer engagement. It is quick and easy to do, even for those who are beginners to WordPress. Just try it for yourself and see how it works. If you have any questions, please let us know in the comment section below.
Forms are pretty versatile tools and can be used in a variety of different situations. You can create different types of contact forms depending upon your need. You can, for example, use it as a simple Contact Form as well as a Feedback Form for clients using this very same plugin. If you just want to avoid using a plugin entirely, you can even choose to embed Google Forms into your site. When used effectively, they can be a great way to improve user engagement.
If you found this guide to be helpful, you can also take a look at some of our other articles.
- How to Embed a Spotify Playlist in WordPress Posts
- 8 Tips You Should Consider Before Changing WordPress Themes
- How to Change your Email Address for WordPress: An Easy Guide


